Deploy your first app
Once you’ve provisioned infrastructure in your cloud account, you can start to deploy your first application. In this example, we’ll deploy a simple NodeJS application to verify that your cluster has been provisioned successfully.

Select deployment way
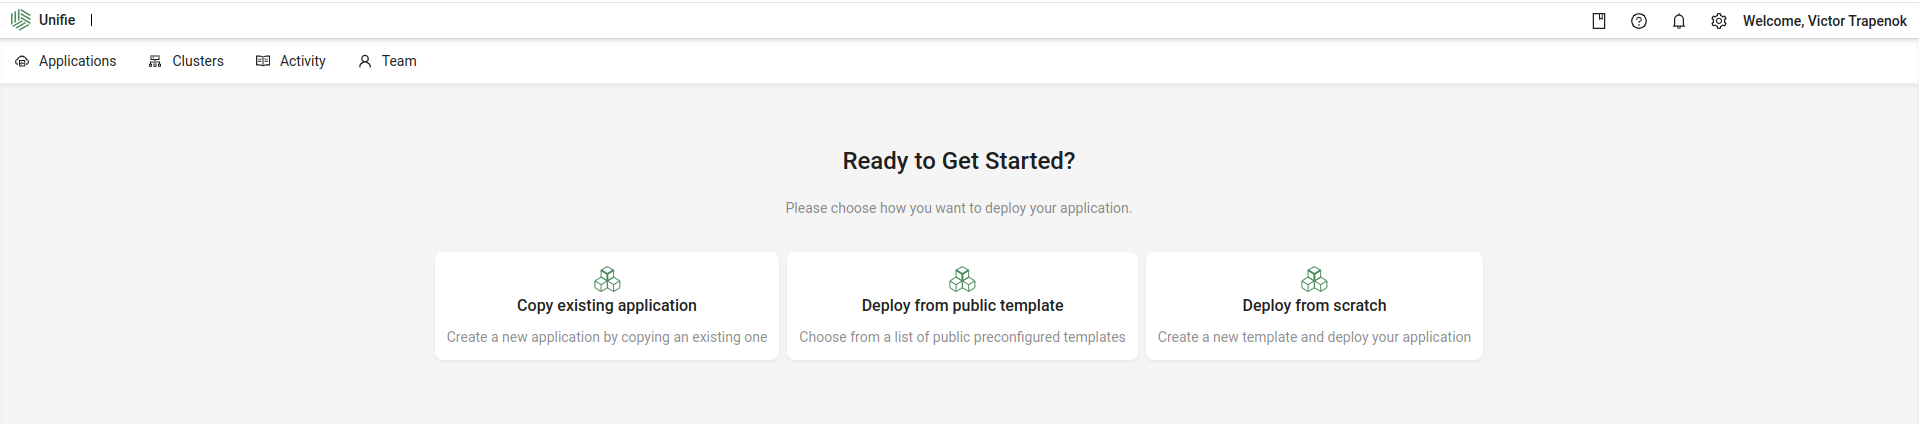
There are 3 way to deploy something in cluster with unifie:
Copy existing application
Create a new application by copying an existing one - good if you already deploy something and want to deploy it again.
Deploy from public template
Choose from a list of public preconfigured templates - very useful if you want to deploy popular software that has a preconfigured deployment template.
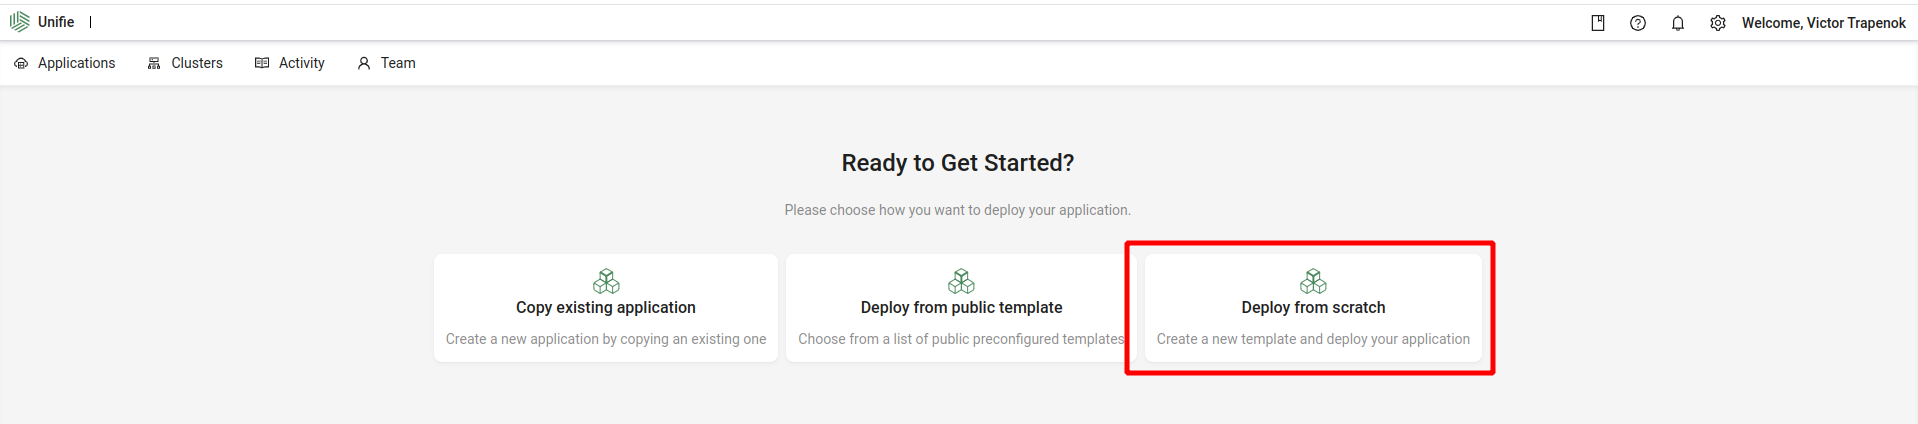
Deploy from scratch
Create a new template and deploy your application - a way to deploy your own app at first time.
In this tutorial will use this way:
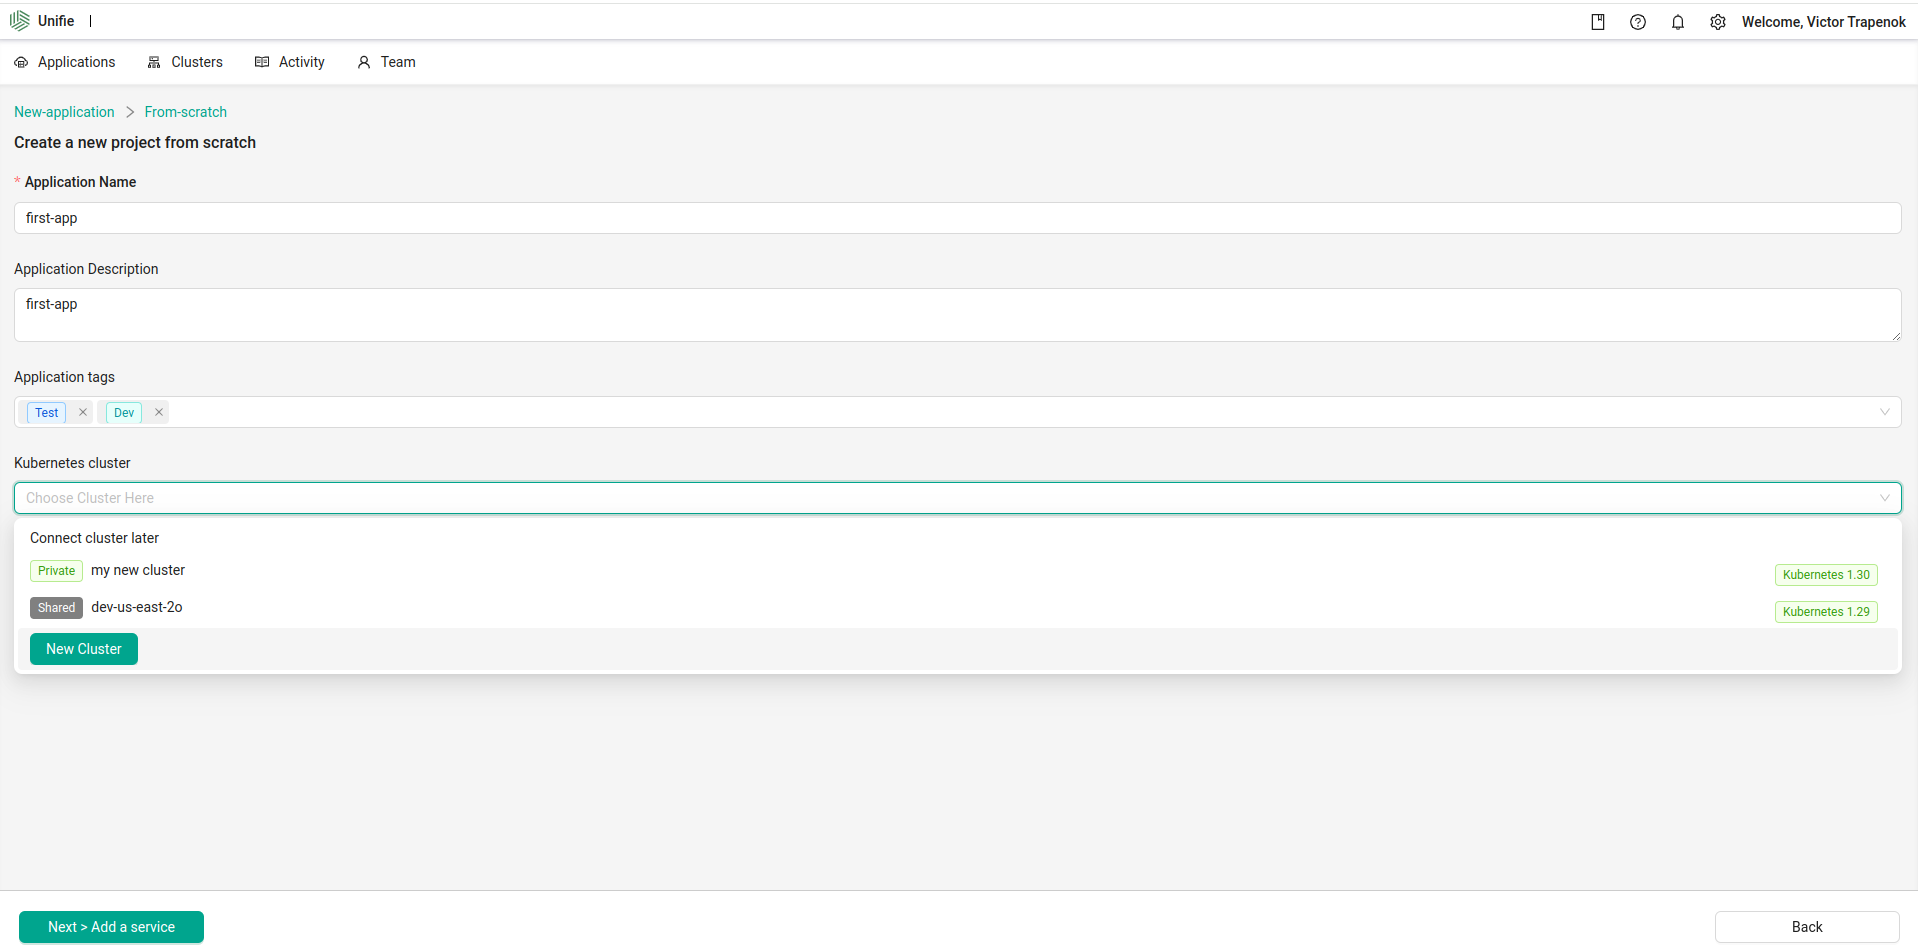
Fill application basic data
Add a Service
A lot of application need more than one microservice.
For example: for web site you need database and web-server.
Unifie allow to create a 3 types of services in one application.
- Service based on docker image (visual ui that allow to deploy simple app if you have only docker image and almost zero DevOps skills)
- Service based on helm chart (in case if you want to deploy software from ready made helm chart)
- Service based on kubernetes yaml file (in case if you can create a yaml configuration for kubernetes cluster manually from scratch)
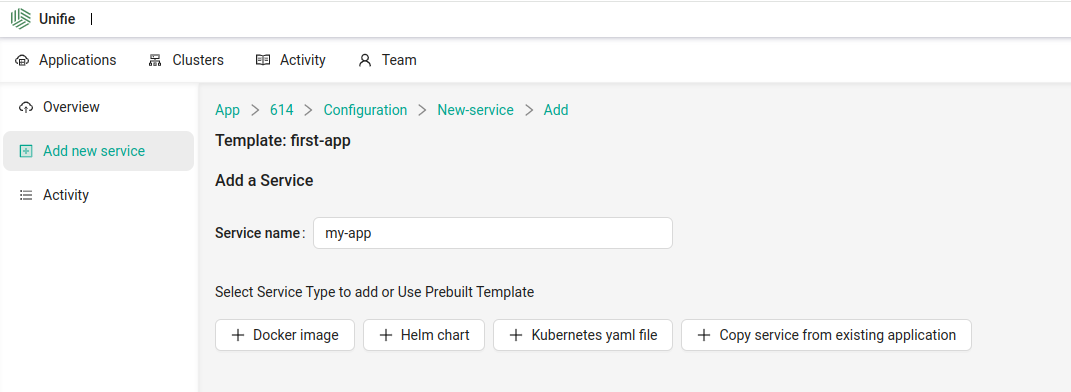
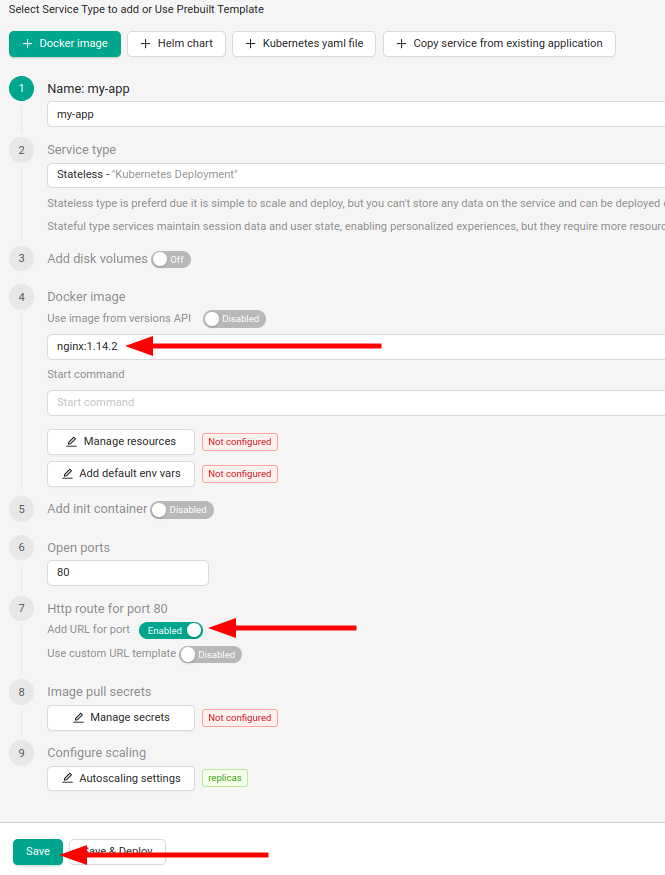
In this tutorial - will use Service based on docker image
And we will try to deploy nginx docker image nginx:1.14.2, you can use any other image if you want to deploy something more than nginx.
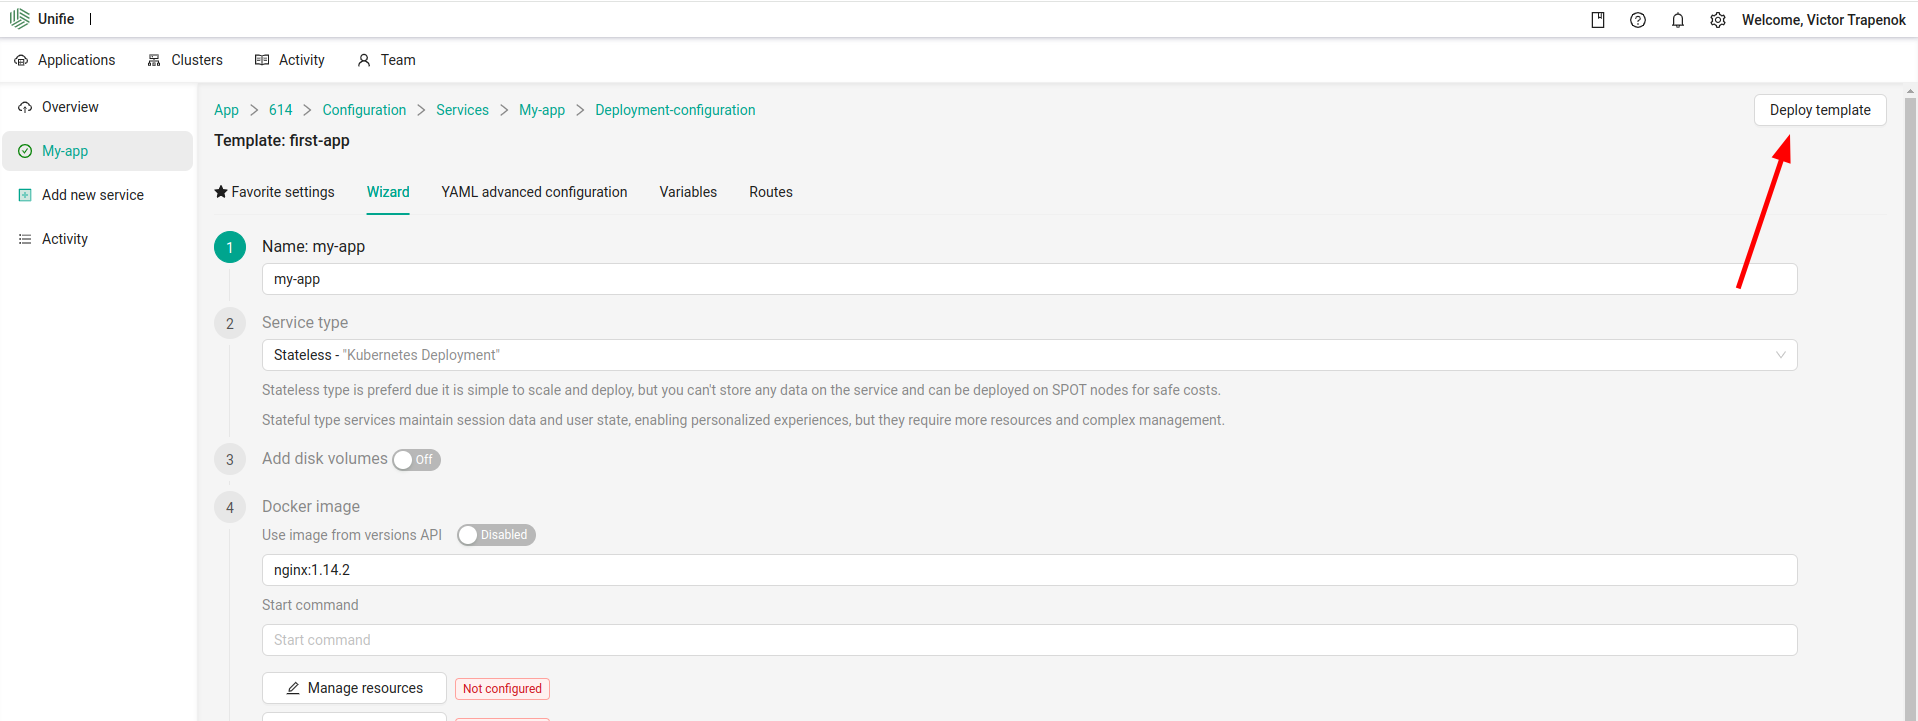
Deploy application
If you finish application configuration - click to deploy button.
Check and confirm settings
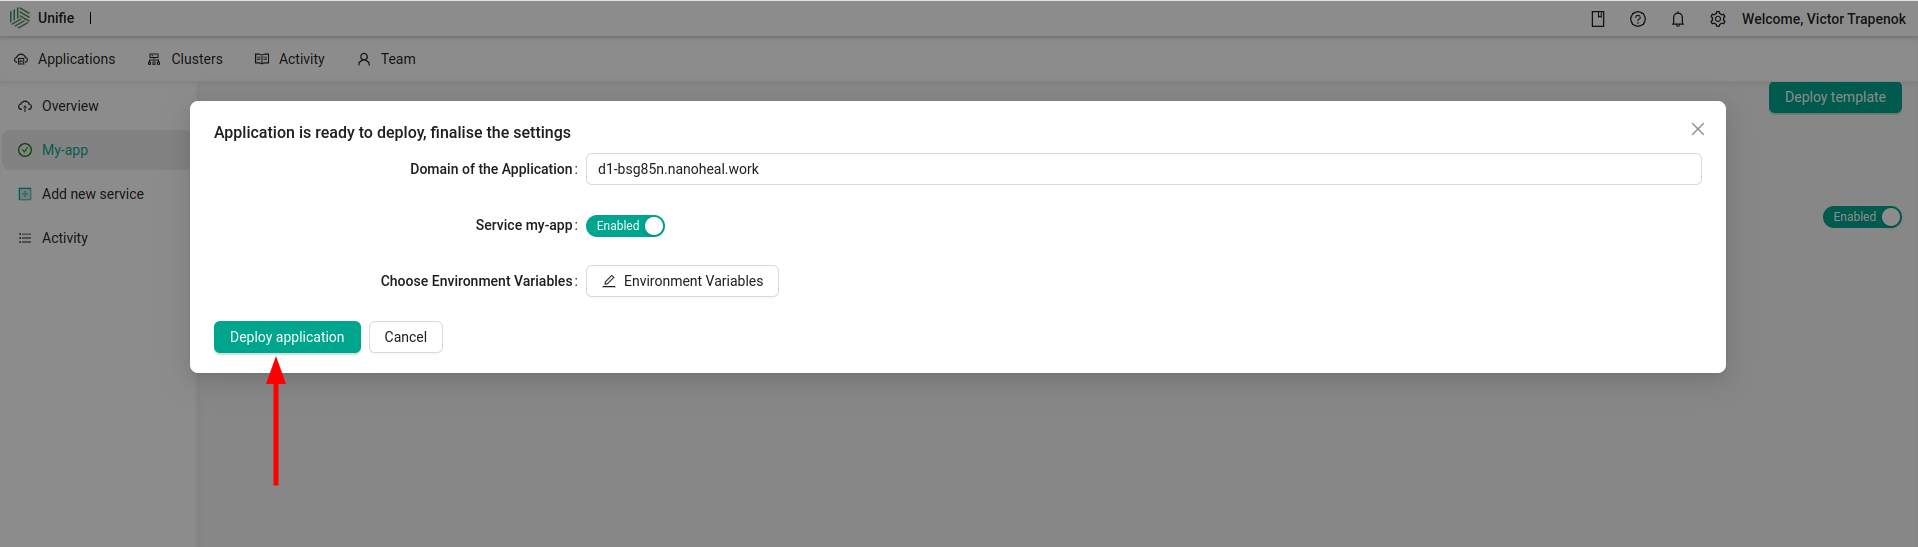
And wait until the application is deployed to the cluster.
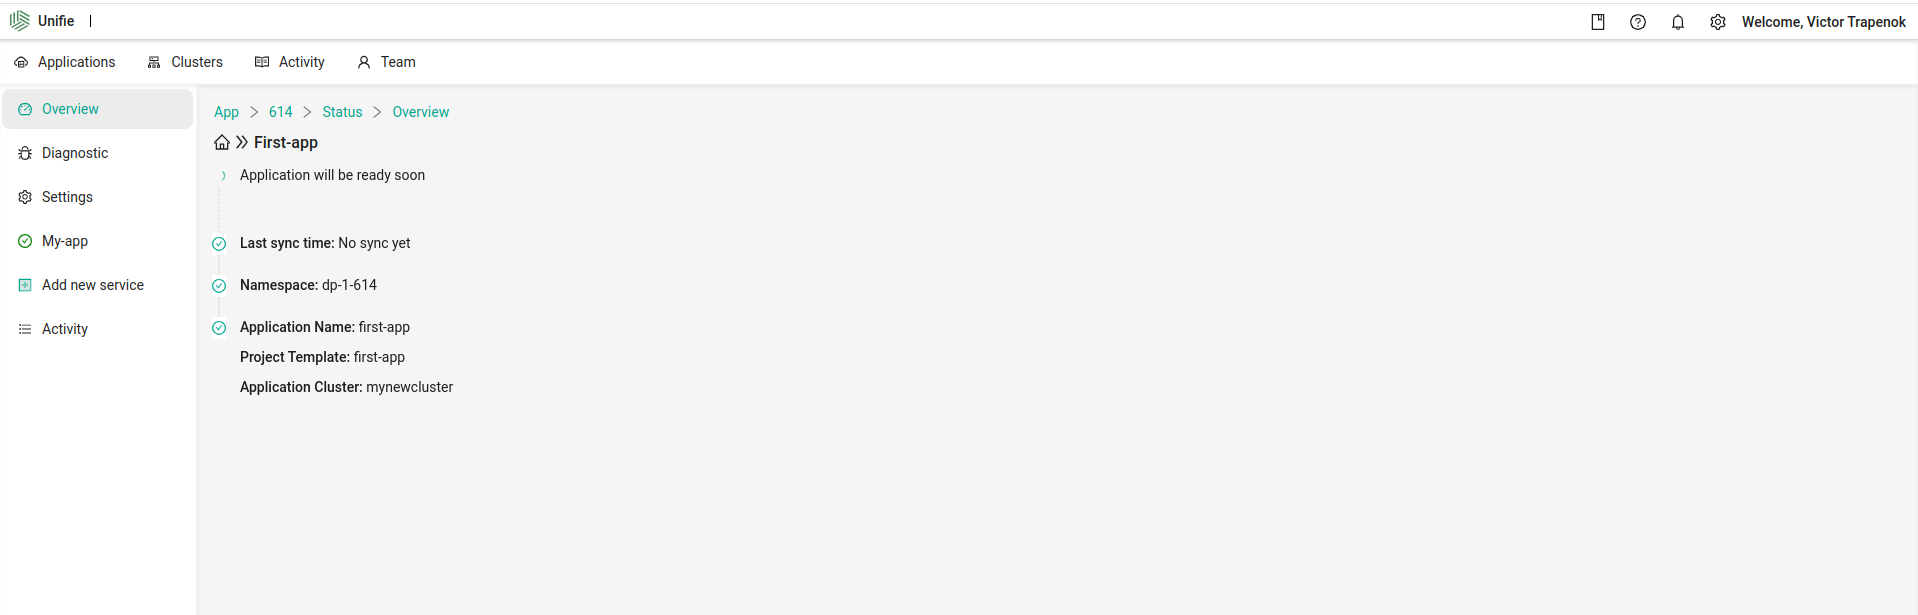
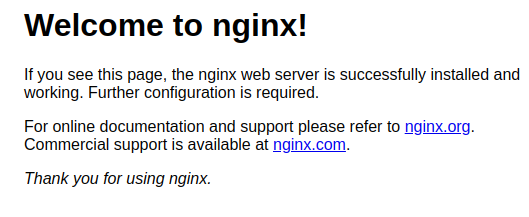
Ready
As soon as you application will be deployed - you will see this screen.
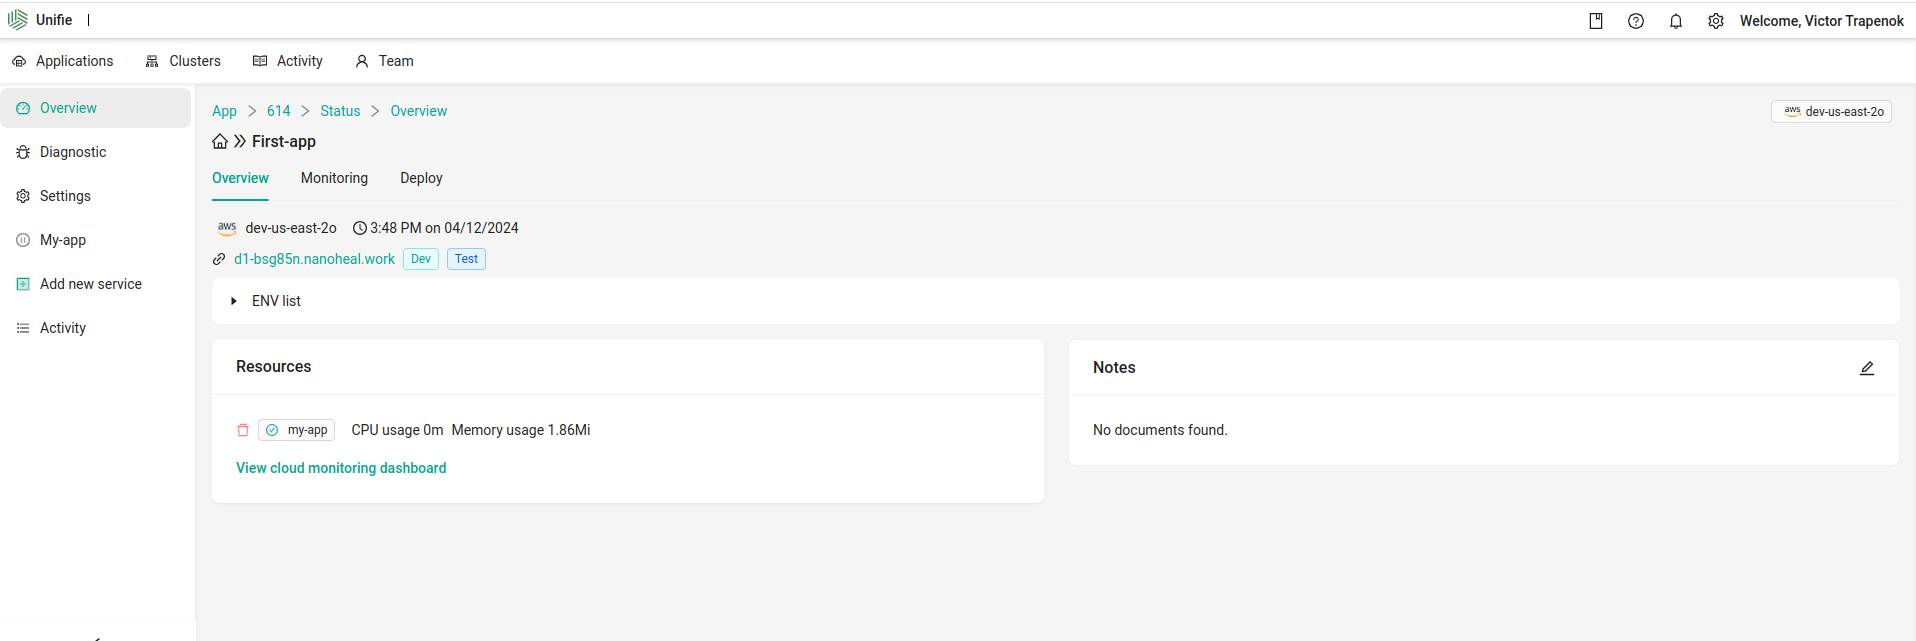
No you can open your app in browser